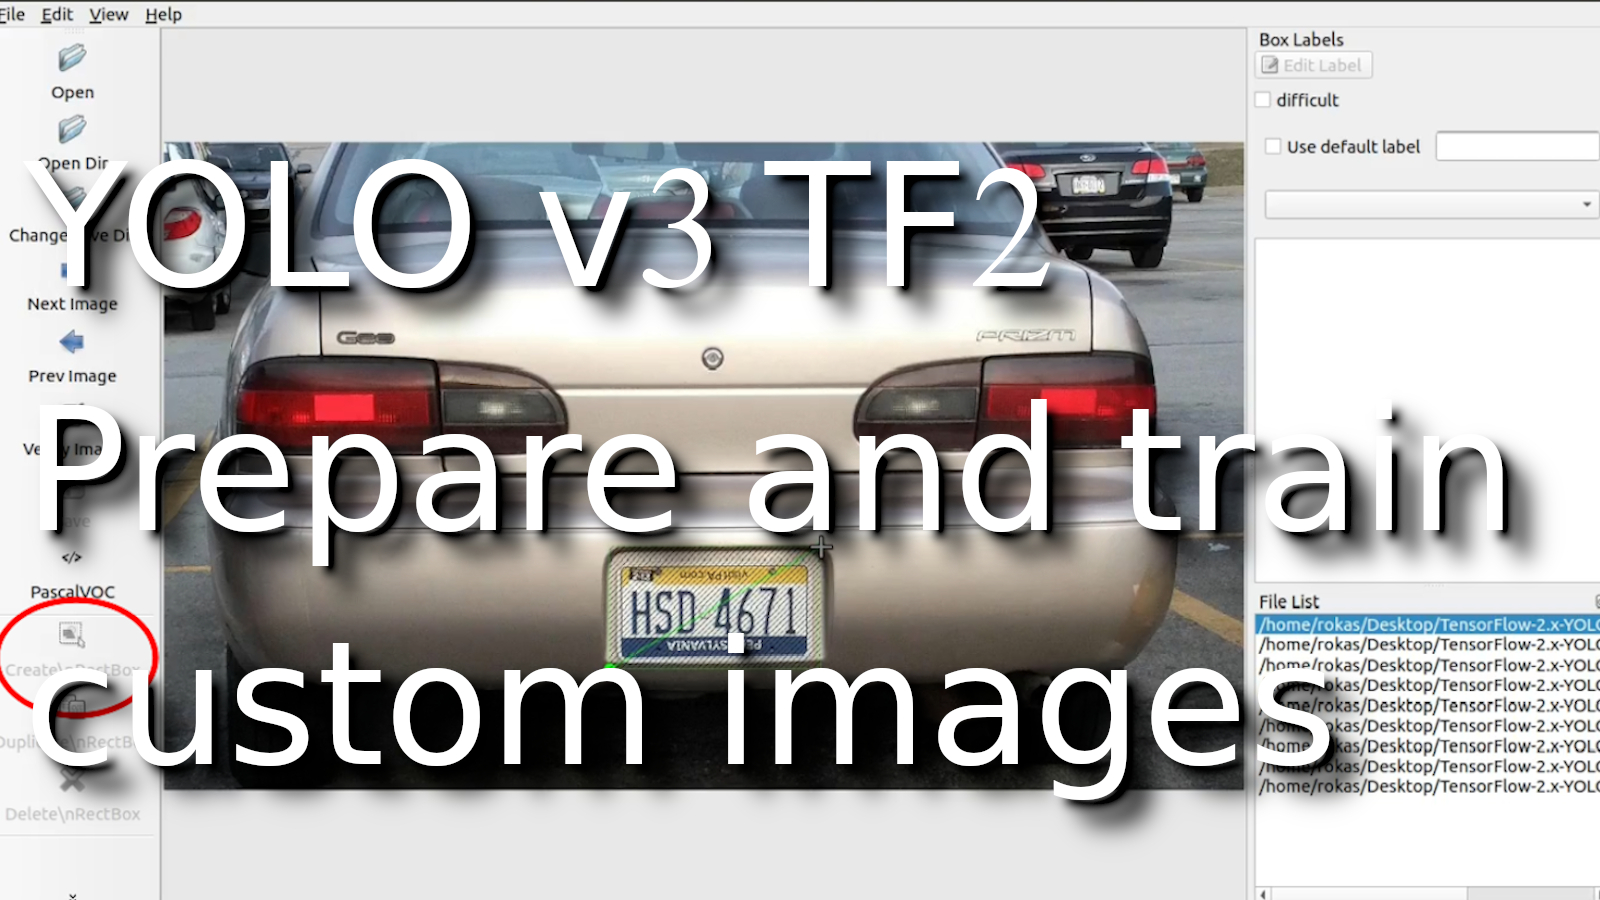
1. Prepare the Image dataset
For this tutorial, I'm going to train YOLO to recognize a car license plate. To do that, I would need to download a few hundred of these images:
 Having the images is not enough. We also need to specify where the custom objects are located on the specific image.
We will need external software for this operation, and we'll use one of the most popular "LabelImg". You can use it for Windows, Mac, or Linux: https://tzutalin.github.io/labelImg/ On GitHub, it's clearly explained how to use it.
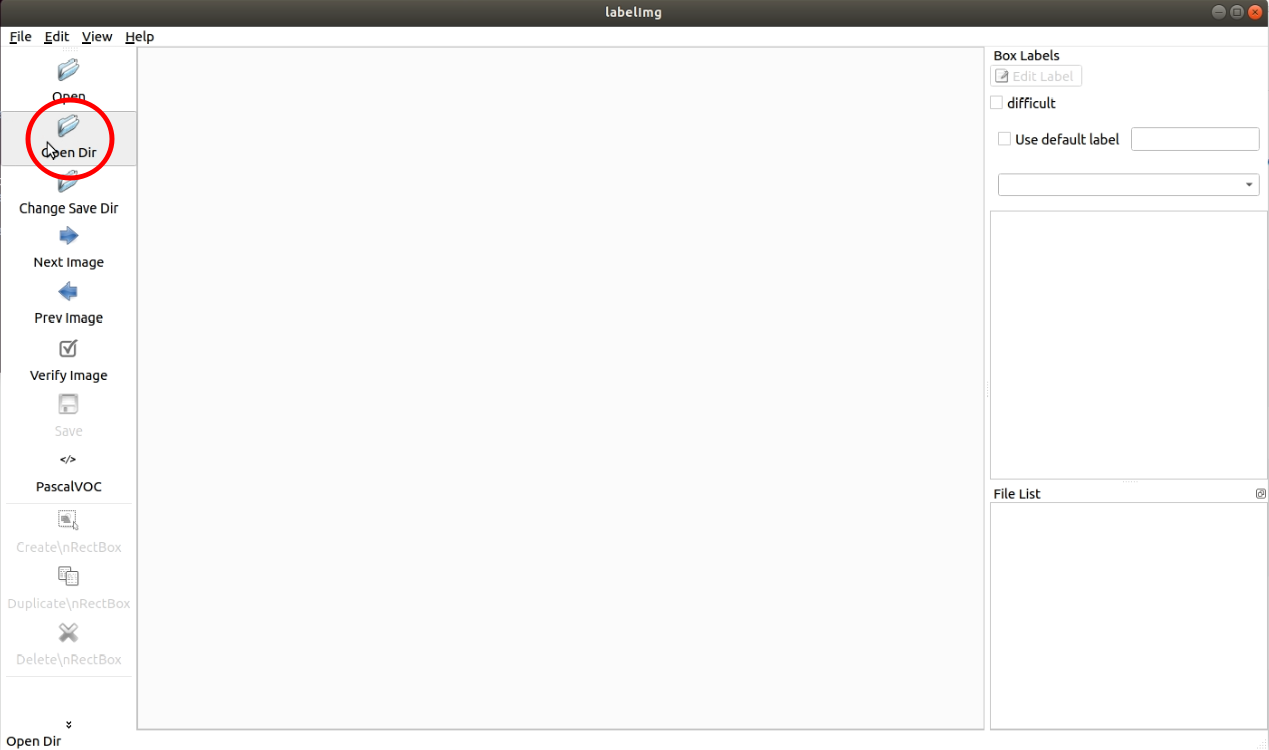
Let's set LabelImg for our dataset: Once we run it, let's click on "Open Dir":
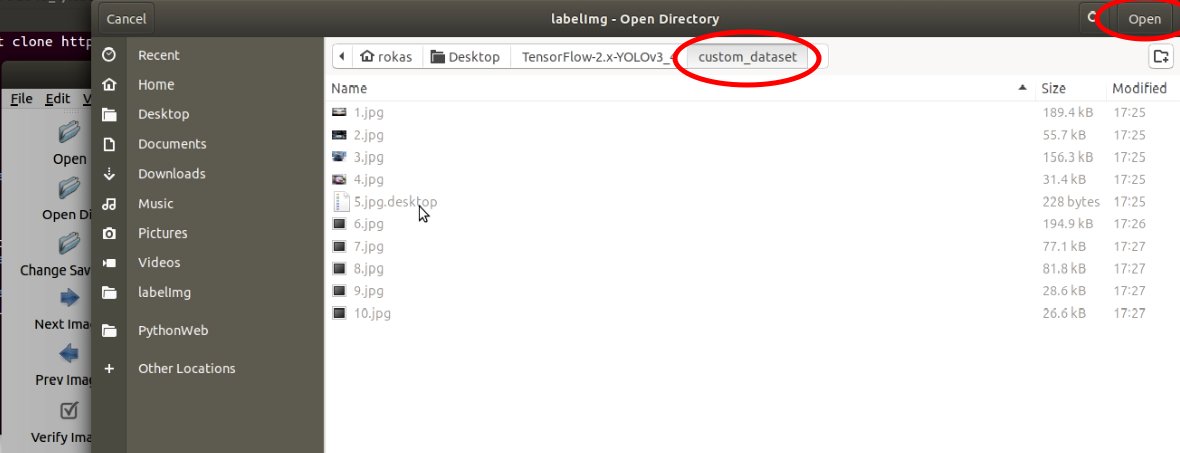
 Select the folder where the images are located:
2. Now, we're ready to label the images
1. Click on "Create RectBox" (or W button on a keyboard):
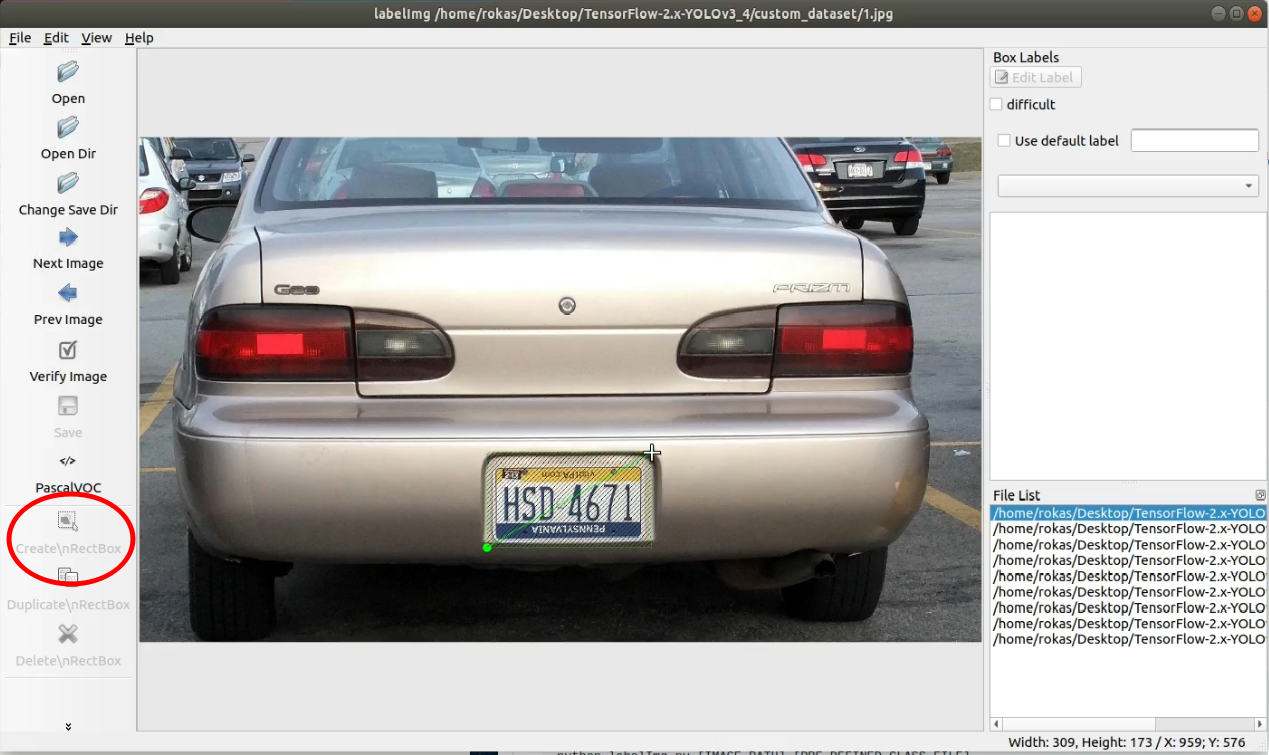
2. Select the area where an object is located (in my case, I select the license plate);
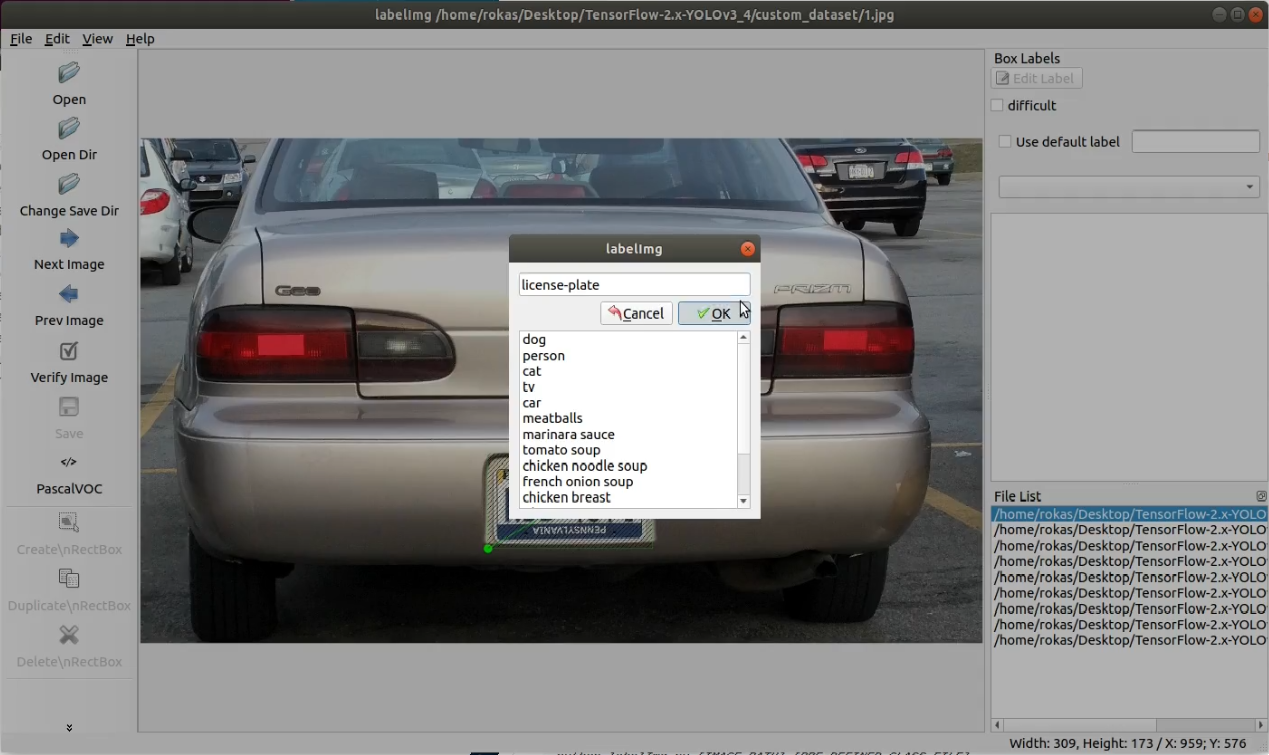
3. Add the label with the name of our object (In my case, type license-plate and press Ok):
4. Then save the labeled image.
At the end of this operation, in the same folder, we should see .xml file, for each image file with the same name.
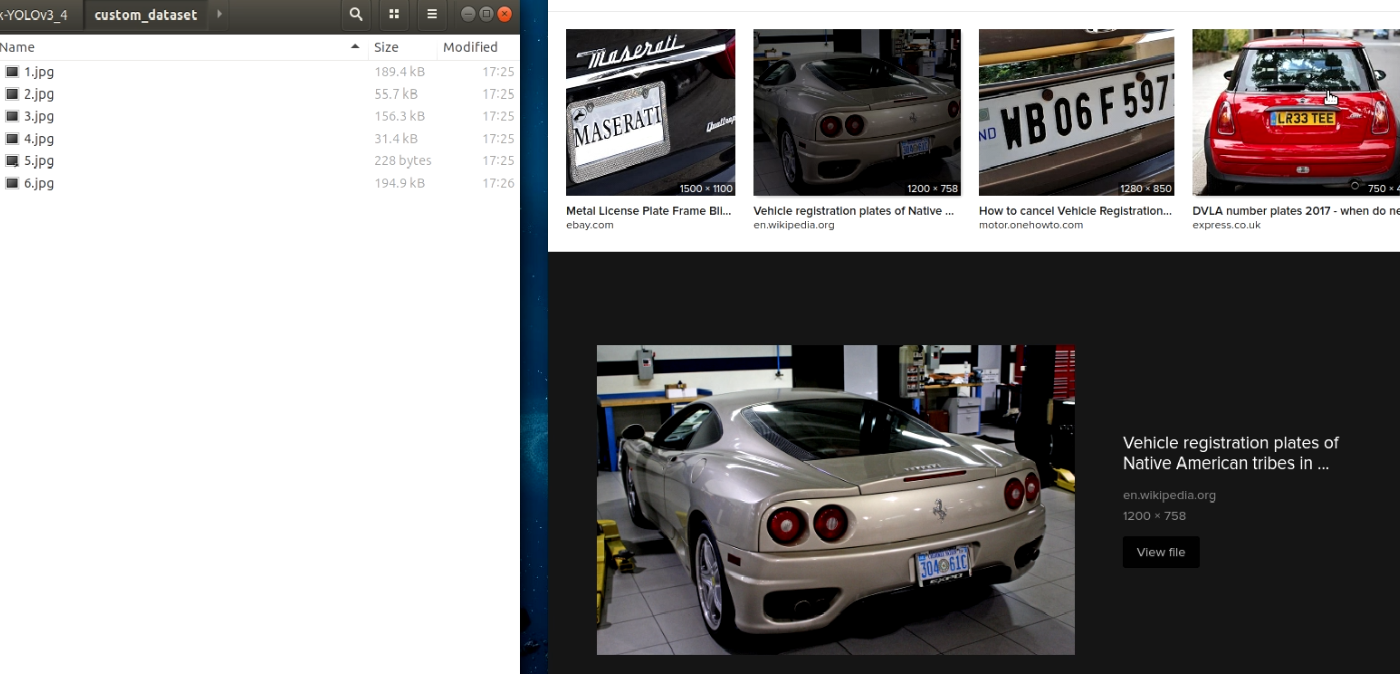
I didn't want to waste time labeling images for this tutorial, so I searched for already labeled images with the same .xml labels. I found this dataset: https://github.com/RobertLucian/license-plate-dataset. I downloaded it and copied all images and labels to train and test files, respectively.
3. Converting XML to Yolo v3
Now we must convert .xml labels to the appropriate Yolo training format. If you didn't clone my GitHub repository - do that. Then, open the tools folder and open the XML_to_YOLOv3.py script. At the beginning of the code, you should see the following code lines:
data_diris the location of our images folder, we set it to/custom_dataset/;Dataset_names_pathis a location where generated classes path will be saved, we set it tomodel_data/license_plate_names.txt;Dataset_trainis a location where generated train annotation path will be saved, we set it tomodel_data/Dataset_train.txt;Dataset_testis a location where generated test annotation path will be saved, we set it tomodel_data/Dataset_test.txt;- the last line is
is_subfolder, this is changed when we don't have any subfolders intrainortestpaths. In a previous tutorial, we used subfolders when downloading the custom dataset. Now we don't have subfolders, so we set it tois_subfolder = False.
This is how it should look entirely changed:
...
data_dir = '/custom_dataset/'
Dataset_names_path = "model_data/license_plate_names.txt"
Dataset_train = "model_data/license_plate_train.txt"
Dataset_test = "model_data/license_plate_test.txt"
is_subfolder = False
...
Now we need to run XML_to_YOLOv3.py scripts, and all these required files will be generated for us.
4. Change training configs.py file
When we have prepared our custom dataset and already generated annotations and class files, we must change configurations to our needs. In the tools folder, you may see the configs.py file; open it. We must change the following lines:
- TRAIN_CLASSES to
"./model_data/license_plate_names.txt"; - TRAIN_ANNOT_PATH to
"./model_data/license_plate_train.txt"; - TEST_ANNOT_PATH to
"./model_data/license_plate_test.txt".
Make sure that TRAIN_DATA_AUG is True and TRAIN_TRANSFER is also True. Train epoch and learning rate change according to your needs for your custom dataset.
5. Train custom model!
This step is one of the simplest. Do the following steps:
- Go to the main folder;
- Open terminal;
- Write
python train.py; - The model keeps training; wait to finish it!
6. Evaluate your model
To check how your model is training, the best is to check it on Tensorboard. So, open another new terminal in the same main folder and write: tensorboard --logdir=log and go to the following link: http://localhost:6006/. You should see similar results:
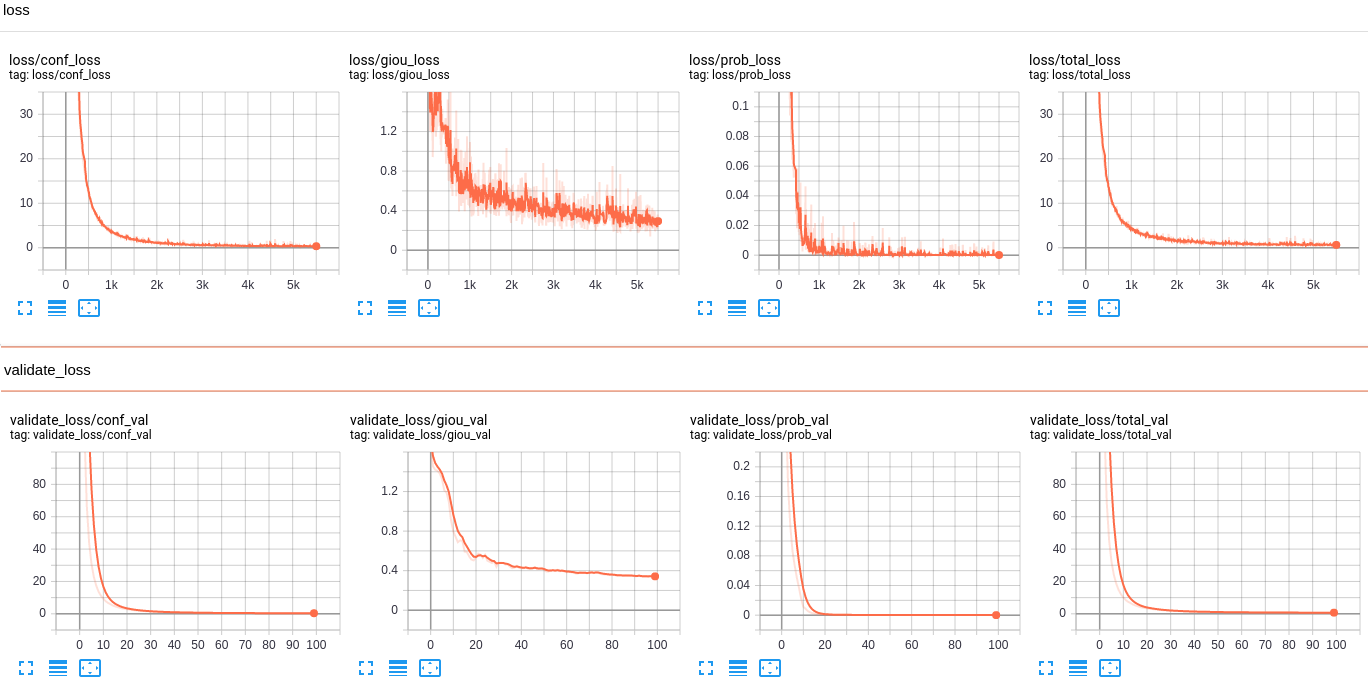
Above are graphs of all losses used in the training process, the most important is validate_loss/total_val:
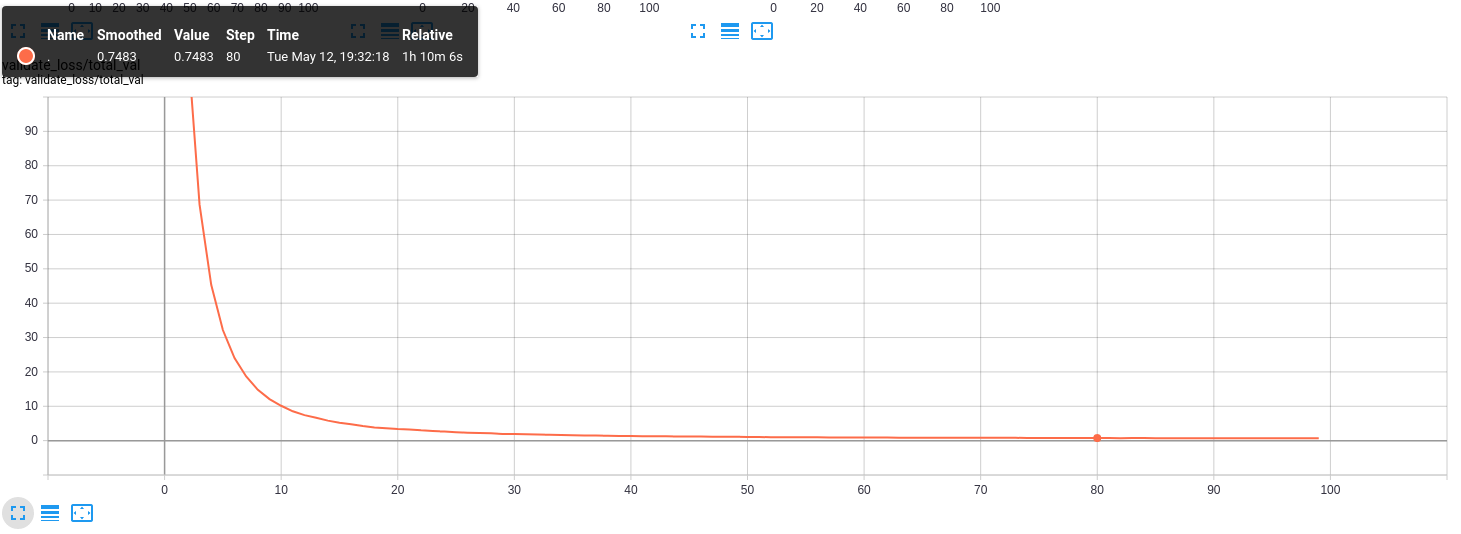
Lower the value of validate_loss better the model is. In this example, my curve is too correct to be true, but only because my dataset is small and lacks diversity. If you checked my previous tutorial, you saw that with the large dataset, it's pretty different.
7. Test custom model
Our custom model is saved in the checkpoints folder as yolov3_custom. To test this model, open the detection_custom.py script. And change your test respectively. For this dataset, I again took two random images from google and tried to detect car license plates:
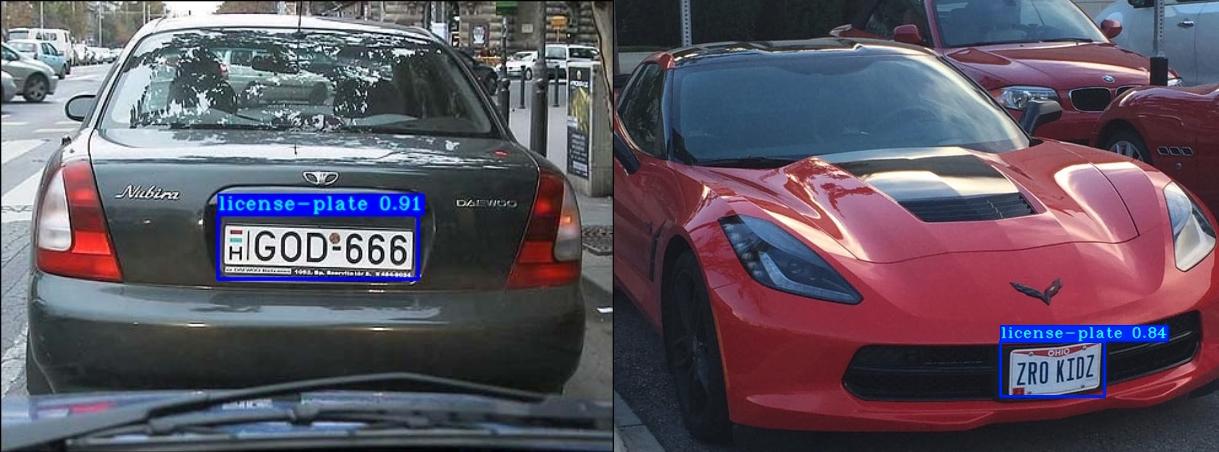
Conclusion:
So, it was a relatively simple and short tutorial, with detailed step-by-step explanations, on how to train custom object detector. Even the beginner should be able to train a custom detector following this tutorial step by step. We could expand this tutorial by extracting license plate numbers from detected objects, but this is not the goal of this tutorial series. Maybe I'll come back to this task in the future.
Many of you may face the problem that you don't have a GPU on your computer, and it takes a lot of time to train a custom model, especially if you have a large custom dataset. To solve this problem, in the next part, I will show you how to train this custom model on the cloud with free GPU.